How to Use a County Parcel Viewer Before Buying Vacant Land
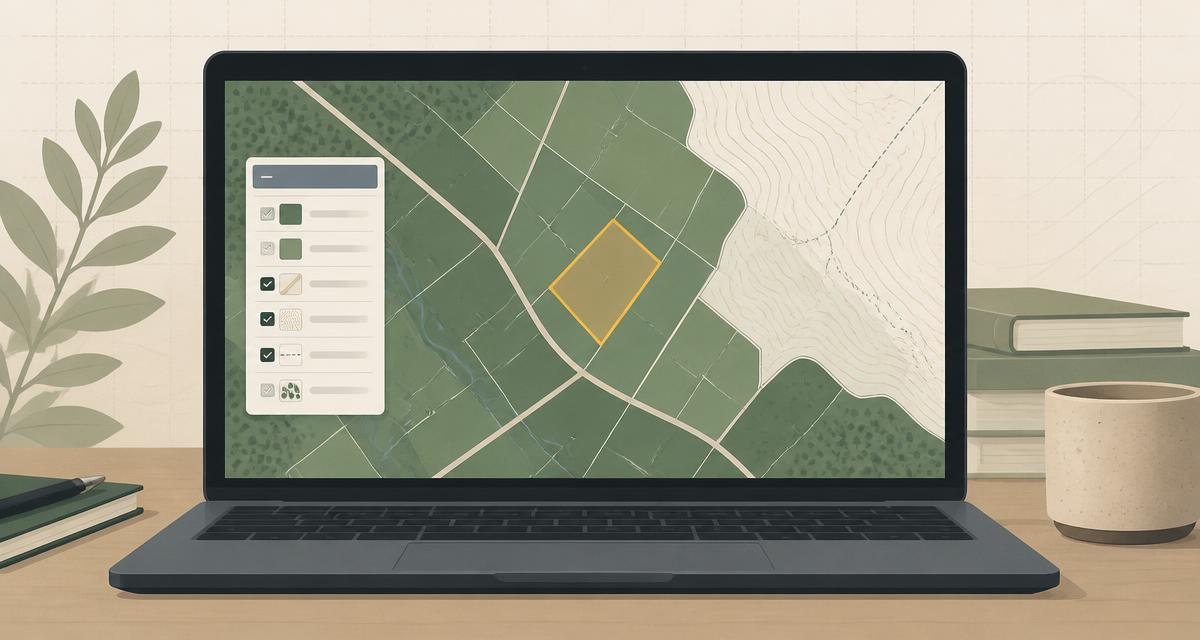
You find a piece of vacant land online. Ten acres, a decent price, a photo of sagebrush and a fence line, and a listing description that says almost nothing you can actually rely on. You want to know whether it is worth a phone call, a drive, or an offer — and you have no idea where to start.
The best free starting point is almost always the county parcel viewer. Nearly every county in the United States publishes some form of online parcel map, and most of them are free, public, and available the moment you know the county name. In fifteen minutes with a parcel viewer, you can confirm which parcel is actually for sale, see its shape and acreage, spot a river running through the middle of it, notice that it has no frontage on a maintained road, and build a short list of questions worth asking before you spend a dollar.
This guide walks through how to use one as a land buyer — not as a GIS professional. No software to install, no mapping background required. Just a clear sequence for getting real information out of a public map, and an honest accounting of what that map can never tell you.
Watch This Guide
Watch Leonard and Willie demonstrate how to use a County Parcel Viewer to research vacant land.
Video coming soon
What Is a County Parcel Viewer?
A county parcel viewer is a public, web-based map of the county’s land parcels. It is usually maintained by the assessor’s office, a GIS department, or the planning department, because those offices need an accurate picture of who owns what for taxation, planning, and public service delivery. Because that map is public record in most places, buyers get to use it too.
Most viewers let you find a parcel in one of four ways:
- Parcel number (APN). The most precise search. If the listing gives you a parcel number, start here.
- Property address. Works well for parcels with a structure or an assigned address, and poorly for raw land that has never had one.
- Owner name. Available in some counties, restricted in others depending on state privacy rules.
- Interactive map. Zoom to the general area and click the parcel. For vacant land with no address, this is often the fastest route.
Behind the scenes, most of these tools are built on GIS software — frequently Esri’s ArcGIS platform — which is why the interfaces across different counties often feel vaguely similar: a map in the middle, a search box at the top, and a layer list tucked into a panel or a small stacked-squares icon. You do not need to know any of that to use one. You need to know which questions the map can answer and which it cannot.
If you are not sure where your county’s viewer lives, the County GIS Directory is a good place to start looking it up.
Step 1: Verify You’re Looking at the Correct Parcel
This is the step that most often goes wrong, and every mistake made here contaminates everything downstream. Listings mislabel parcels. Pins drop in the middle of the wrong section. Sellers describe “the 40 acres on the north side” when the deeded parcel is the 40 on the south. Before you research anything else, confirm that the parcel highlighted on your screen is the parcel being sold.
Cross-check five things
- Parcel number. Compare the APN in the viewer character by character against the listing, the deed, or the tax statement. A single transposed digit can move you a mile away.
- Acreage. The county’s mapped acreage should be close to the advertised acreage. Small differences are normal. A listing that says 10 acres over a parcel the county maps at 4.7 is a question, not a rounding error.
- Property shape. Does the outline match any plat, sketch, or aerial photo in the listing? A long narrow flag lot and a clean square both cover ten acres and live very different lives.
- Nearby roads. Note which roads touch the parcel and which merely come close. “Near the highway” and “fronting the highway” are different properties.
- Adjacent parcels. Click the neighbors. A parcel surrounded by 640-acre agricultural holdings sits in a different future than one surrounded by five-acre residential lots. Adjacent public land, a gravel operation, or a feedlot all matter.
Finally, confirm the general location: the correct county, the correct side of a section line, and the correct distance from town. Screenshot the parcel with the APN visible so you can prove to yourself later which parcel you were researching.
Step 2: Understand the Parcel Boundaries
The colored outline around your parcel looks authoritative. It is drawn with crisp lines, it snaps neatly against the neighbors, and it sits on top of a satellite image that shows the real world. It is still, in most counties, a digitized administrative approximation.
County parcel layers are typically assembled from deeds, plats, historic tax maps, and survey records, then fitted together into a seamless county-wide layer. That process involves judgment. Older descriptions get interpreted. Overlaps and gaps get smoothed. Accuracy varies enormously between a recently platted subdivision and a rural quarter section last described in 1912. It is common to see mapped lines off by several feet, and not unheard of to see them off by much more.
What actually establishes boundaries
- Recorded plats. If the parcel is part of a platted subdivision, the recorded plat shows the intended dimensions, lots, and easements. How to Read a Plat Map walks through what those drawings contain.
- Boundary surveys. A licensed surveyor locating corners on the ground is the tool for questions about exact lines, encroachments, and monuments.
- Legal descriptions. The deed’s written description — metes and bounds, lot and block, or an aliquot part of a section — is what actually conveys the land. The map is a picture of it, not a substitute for it.
When a boundary matters to your plans — a building envelope near a line, a shared fence, an access strip only a few feet wide — treat the GIS line as a hypothesis and go find the recorded documents.
Step 3: Explore Available Map Layers
The layer list is where a parcel viewer stops being a lookup tool and becomes a research tool. Most counties publish several data layers you can switch on and off independently, and each one is really a separate map that answers a separate question. The names vary, but the common ones look like this:
- PlanningWhat has the county already planned for this area?
- ZoningWhat uses and lot sizes are generally allowed here?
- Parcel informationWhich parcel is this, and how big is it on record?
- Flood zonesIs any part of the parcel mapped in a flood hazard area?
- Topography / contoursHow steep is the ground, and where does it drain?
- Fire districtsWhich district serves this parcel, and what do they require?
- Snow loadWhat structural design load may apply at this elevation?
- Survey recordsHas a surveyor already recorded work on or near this parcel?
- Public access roadsWhich nearby roads are maintained by a public agency?
- Tax districtsWhich taxing entities and levies apply to this parcel?
Turn layers on one at a time. Stacking six translucent overlays produces a colorful mess that hides more than it reveals. Look at zoning by itself, then flood by itself, then contours by itself, and take a screenshot of each with the parcel visible. Note the layer name and the date the county lists for the data if it is shown.
Step 4: Learn What Zoning Can Tell You
Zoning is usually the first layer buyers reach for, and for good reason: it is the county’s statement about what kind of activity belongs in an area. On the map, it typically appears as a color with a short code. Two you will see constantly in rural areas:
- RR — Rural Residential. Commonly applied to low-density residential land outside city limits. Often allows a single home on a relatively large minimum lot.
- AG — Agricultural. Commonly applied to farming and ranching land. Homes may be allowed, limited, conditioned on agricultural use, or tied to very large minimum lot sizes.
What a zoning designation hints at
- Minimum lot size. The single biggest constraint on whether a parcel can ever be divided.
- Allowed uses. Residential, agricultural, commercial, accessory dwellings, shops, short-term rentals, livestock — each is listed as permitted, conditional, or prohibited.
- Density. How many dwellings the county contemplates per acre or per parcel.
- Building restrictions. Setbacks, height limits, frontage requirements, and site coverage rules that shape where a structure can sit.
Here is the catch: the map is a summary, and the code is the law. Zoning layers can lag behind recent rezones, overlays may apply on top of the base district, and the meaning of “RR-5” in one county is not the meaning of “RR-5” in the next one over. Always read the actual ordinance text and confirm the designation with the planning department before you rely on it. How to Verify Zoning on Land covers how to make that call productive.
Step 5: Look for Physical Challenges
Some of the most expensive problems in land are visible on a free map if you know what to look for. A parcel viewer will not price them, but it will tell you where to point your attention.
- Steep terrain. Tight contour lines mean steep ground. Steep ground means expensive driveways, difficult septic, cut-and-fill costs, and sometimes a slope ordinance that limits building entirely.
- Flood-prone areas. A mapped flood zone across part of the parcel affects buildable area, insurance, financing, and permitting. Check the flood zone guide for how to read the designations.
- Drainage. Follow the contours downhill. Low spots, swales, and areas where several drainages converge tend to stay wet longer than the aerial photo suggests.
- Waterways. A creek, canal, irrigation ditch, or wetland can bring setbacks, crossing costs, permitting requirements, and water-rights questions.
- Irregular parcel shapes. Long, narrow, or oddly angled parcels lose usable area to setbacks and can be hard to lay out.
- Limited road frontage. Little or no frontage on a maintained public road is one of the most common reasons a cheap parcel is cheap.
Every one of these is a screening tool, not a final answer. Contours are modeled, flood layers are generalized, and a ditch on the map may or may not carry water. The purpose of this step is to decide whether the parcel deserves a site visit, a phone call, or a pass.
Step 6: What Parcel Viewers Don’t Tell You
This is the part that saves people money. A parcel viewer is excellent at describing a parcel and almost useless at confirming that a parcel will work. Here is what a typical county viewer does not verify:
- Legal access — a recorded right to reach the parcel
- Easements — who else may use, cross, or restrict the land
- Utility capacity — whether a provider can actually serve you
- Septic approval — whether soils and setbacks support a system
- Buildability — whether a permit would realistically be issued
- Development costs — what it takes to make the land usable
- Property corner accuracy — where the pins actually sit
- Title issues — liens, clouds, restrictions, or ownership defects
Notice that this list contains every question that determines whether the land is actually usable. A road drawn on the map is not a recorded right to drive on it — that is what legal access verification is for. A power line crossing the corner is not a service commitment — that is what utility verification is for. A parcel zoned residential is not a parcel you can build on — that is what a buildability review is for.
The map gets you to good questions faster than anything else available for free. Answering them requires the county, the utility providers, the title company, and sometimes a surveyor or engineer. That is not a reason to skip the map. It is a reason to treat what you find there as a lead rather than a conclusion.
Step 7: Organize What You Find
Most buyers lose more information than they gather. Three tabs get closed, a screenshot ends up in the phone’s camera roll, a planner’s answer lives only in memory, and two weeks later nobody can say whether the flood question was ever resolved. Then a second parcel enters the picture and the notes blend together.
Save these for every parcel
- Parcel number exactly as the county writes it.
- County and state, so the source is never ambiguous.
- GIS source — the URL of the viewer and the date you looked.
- Screenshots of each layer with the parcel visible.
- Verification notes — who told you what, and when.
- Questions still needing answers, written down as questions.
That last item is the one people skip, and it is the most valuable. A land decision is rarely wrecked by something nobody could have known. It is wrecked by something somebody wondered about and never followed up on.
This is where LandGauge fits. It is a place to keep every source, screenshot, contact, verification, and open question for a property in one organized record, with each item marked as Verified, Assumed, or Still Needs Verification — so the difference between what you know and what you are guessing stays visible. The Property Verification Report is what that organized record looks like when you are ready to share it, and the Research Hub collects the outside sources you will be pulling from along the way.
You can do all of this in a spreadsheet and a folder of screenshots. The method matters more than the tool. What matters most is that the record exists before you make an offer, not after.
County Parcel Viewer Checklist
Work through this list for each parcel before moving on to deeper due diligence. Print it, copy it into your notes, or track it alongside the rest of your research.
- Correct parcel confirmed
- Parcel number recorded
- Acreage noted
- Road frontage reviewed
- Adjacent parcels reviewed
- Zoning reviewed
- Flood zone checked
- Topography reviewed
- Screenshots saved
- Open questions listed
Frequently Asked Questions
Verify Before You Rely
A county parcel viewer is one of the best places to begin researching land. It is free, it is public, and it will tell you more in fifteen minutes than a listing description will tell you in a month. It is also only the first step. The map identifies the parcel; it does not confirm access, utilities, buildability, or title.
Before you make a buying decision, organize every source, screenshot, verification, contact, and unanswered question in one place — and keep track of which items are actually confirmed.
Last updated: 2026-08-05. Originally published 2026-08-05. County GIS systems, layer availability, and zoning codes change frequently; confirm current information with the county.
This article is for general educational purposes and is not legal, surveying, title, engineering, or land-use advice. Consult the appropriate county offices and qualified professionals when a land decision depends on boundary, access, title, zoning, or development rights.
Related guides
- Land ResearchWhat Is a County GIS Map?A plain-English overview of GIS and what county parcel maps can show.
- Due DiligenceHow to Tell if Land Is BuildableWhat has to line up before a county will let you build.
- ZoningHow to Verify Zoning on LandMove from a zoning label on a map to the actual code text.
- Flood ZonesHow to Check FEMA Flood Zones Before Buying LandZones A, AE, X, floodways, and what each means for your plans.
- UtilitiesHow to Check Utilities on Vacant LandPower, water, and sewer availability versus actual capacity.
- AccessHow to Verify Legal Access on LandThe difference between a road on a map and a right to use it.
- GIS & Parcel ResearchHow to Read a Plat MapLot lines, bearings, easements, dedications, and plat notes.